
In early December 2018, I came across model plans for making a 35% scale working
model of the venerable Toyota 22-
Although I have had a 3D printer for about a year now, I have never embarked on doing any large projects with it. Mostly, I have used it to make small replacement parts and trinkets. I knew going in this would be a challenging and long term project.
While the plans included model files for printing out most of the engine parts,
certain hardware would also be necessary such as screws, nuts, springs, etc. The
model plans included a basic parts list for most of the needed hardware. Luckily
for me, there is a shop nearby that specializes in selling metric hardware. In fact,
that is the only thing that they sell. The inventory at Global Metrics in Belmont,
CA is amazing. I visited the store with a list of the hard-
The internal parts of the motor model have been modified somewhat in order to make use of ball bearings, instead of oiled, plain bearings. The bearings and a few of the other oddball hardware pieces were all available from Amazon.com.
Printing out objects with a 3D printer is a very slow process. The smallest parts took a minimum of five minutes to print out while larger parts (like the engine block) took over twenty hours to print.
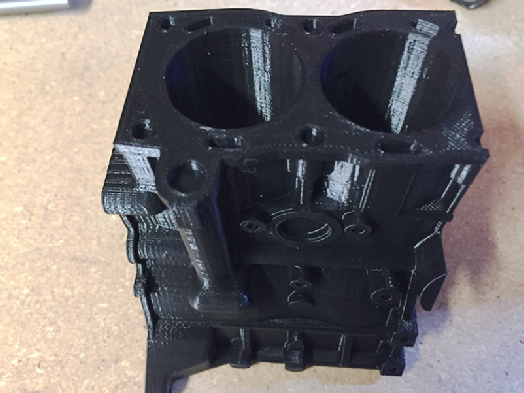
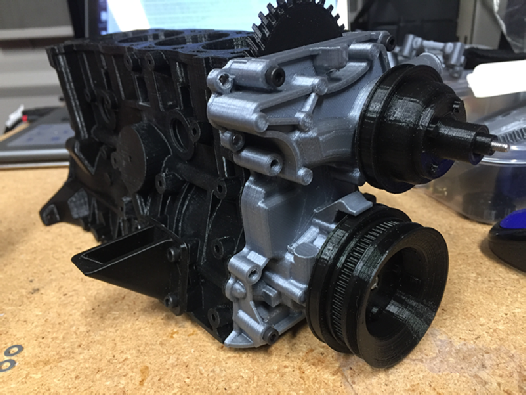
Because the larger parts take much more time to print, I set the printer up to print them at night so the printer could make them while I was sleeping. Some of the parts, such as the engine block, are larger than my printer can print out so I used a CAD program to “cut” them in to smaller parts and then bonded the parts together later. This is one half of the engine block.
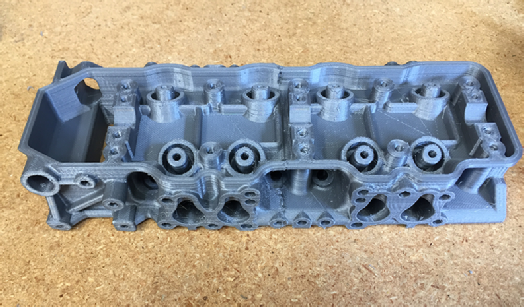
The cylinder head was also too large for the printer, so I printed both halves of the model and bonded them together using a soldering iron and a steady hand.
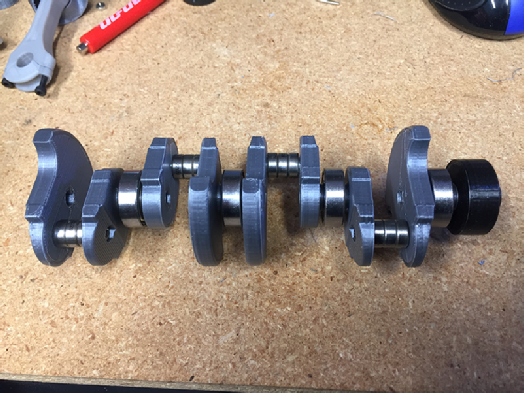
The crankshaft rides on 22 millimeter (roughly 3/4”) ball bearings and the connecting rods are supported with three tiny (10 mm or 3/8”) ball bearings stacked together side by side.
I decided to make some of the smaller parts first.
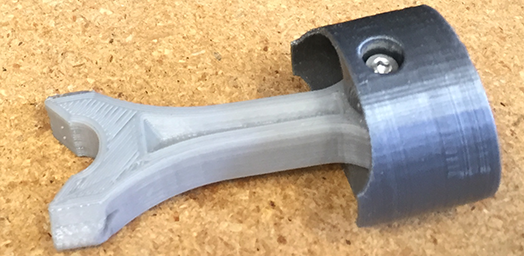
The piston wrist pin is also a tiny 10 mm ball bearing. These bearings are normally made for skateboards and roller skates...they are incredibly small.
Unlike the actual Toyota engine design, the model uses a set of gears to drive the overhead camshaft instead of a chain. This allows for easy removal of the cylinder head for “Show and Tell”.
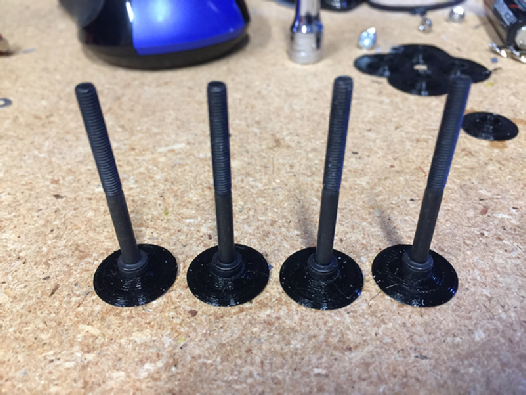
The engine valve faces are printed plastic while the valve stems are actually 45 mm x 3 mm socket head screws. I heated the socket head of the screw and embedded the screw into the plastic valve faces to form the valves.
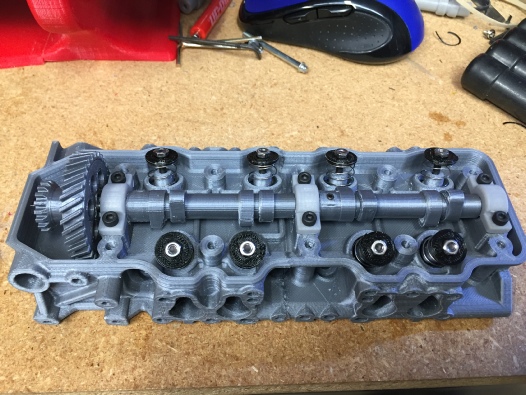
The valves have a printed plastic retainer and a nut is used as a keeper to hold the valve assembly together. Like all of the other rotating parts in the model, the camshaft is supported by ball bearing sets.
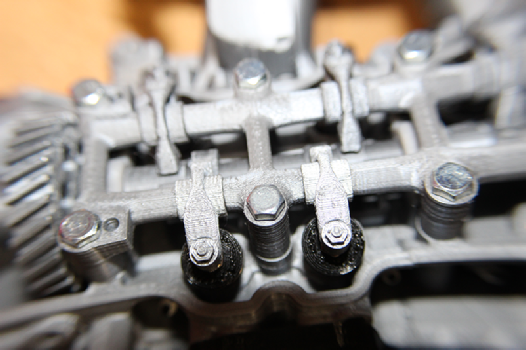
The next step in the assembly is to fit the rocker arm assembly to the head. I ended up doing a fair amount of filing and sanding to get everything to line up properly. Click here to see a short video of the valve train in action.
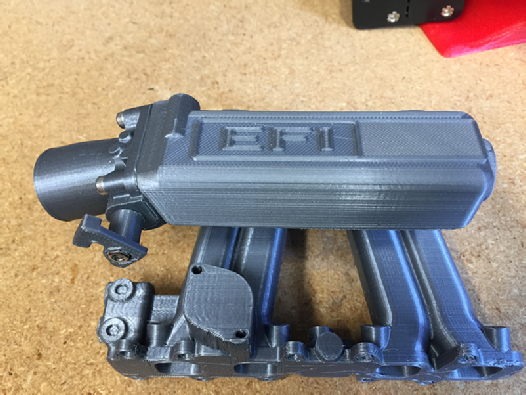
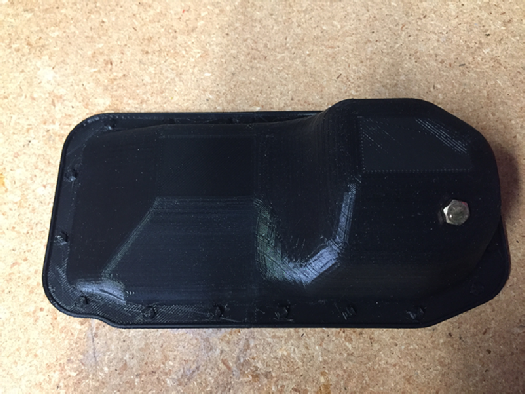
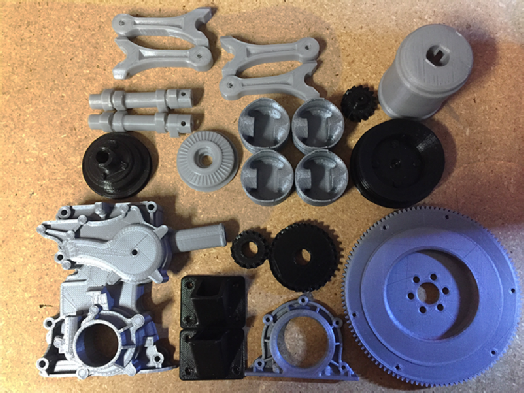
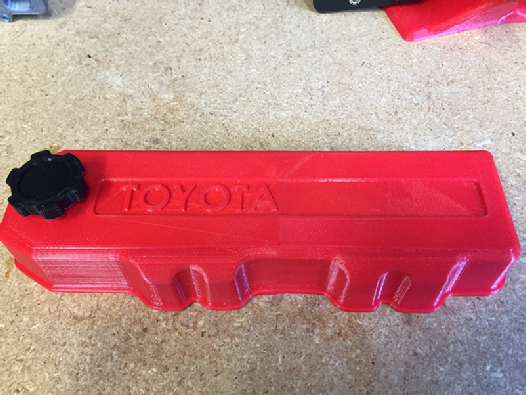
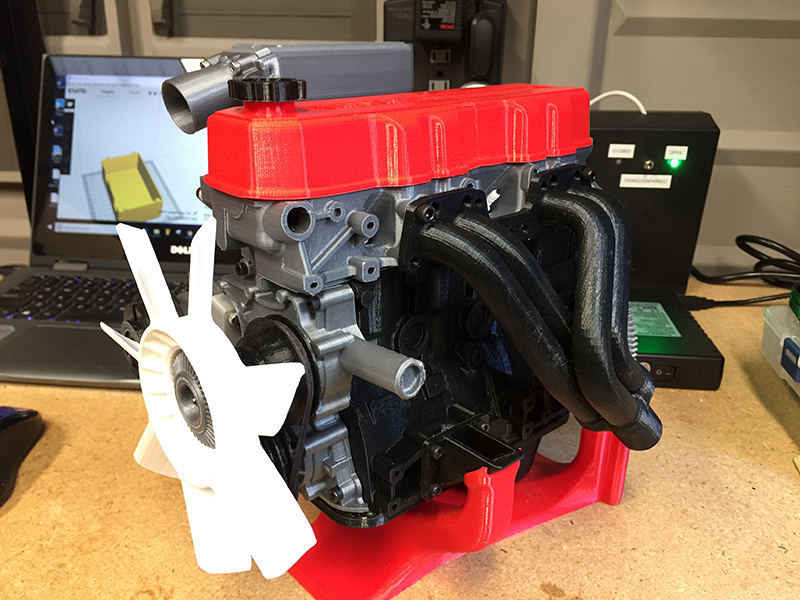
While I was doing the assembly work, the printer was busy printing out some of the ancillary components such as the manifolds, the oil pan and the valve cover.


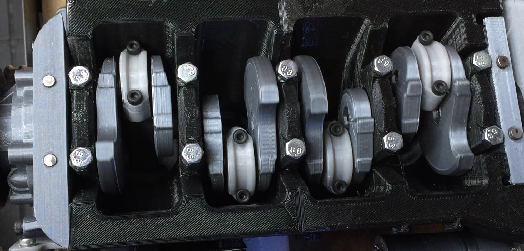
The bottom end of the motor is (finally) assembled and ready for testing. For testing, I used a low speed drill motor to rotate the assembly and make sure that there weren’t any major problems. Click here to view a short video of the bottom end in action.
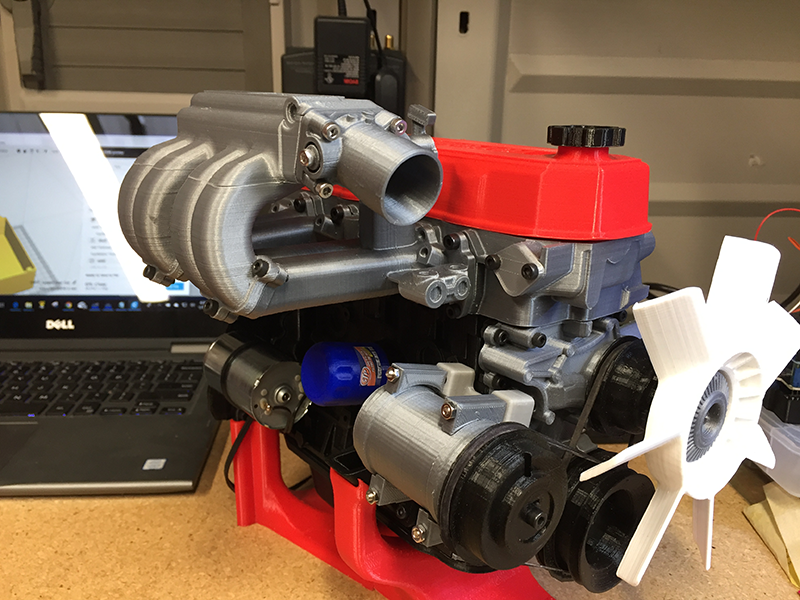
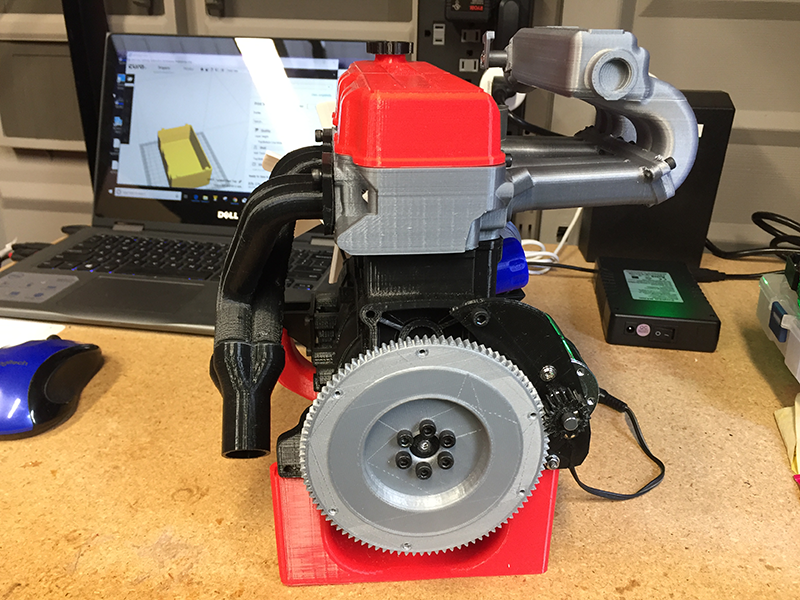
At this point, the bottom end of the motor is pretty much complete. Although the plans call for driving the motor with a toothed belt from an electric motor inside the faux A/C compressor, I opted to drive the motor from the flywheel instead. I purchased a small 550 RPM motor and designed and printed out a custom mounting bracket and gear for it. Click here to see the electric motor in action.
The remainder of the assembly work was simple and straight-
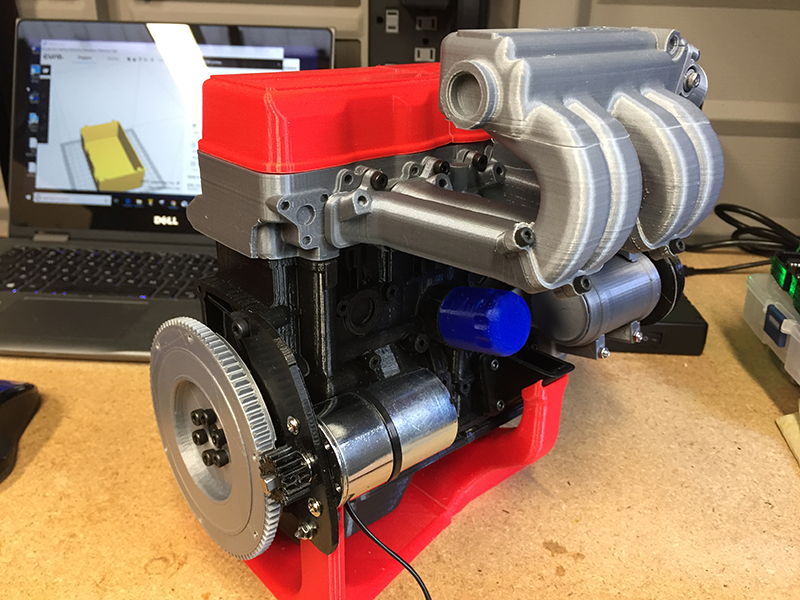
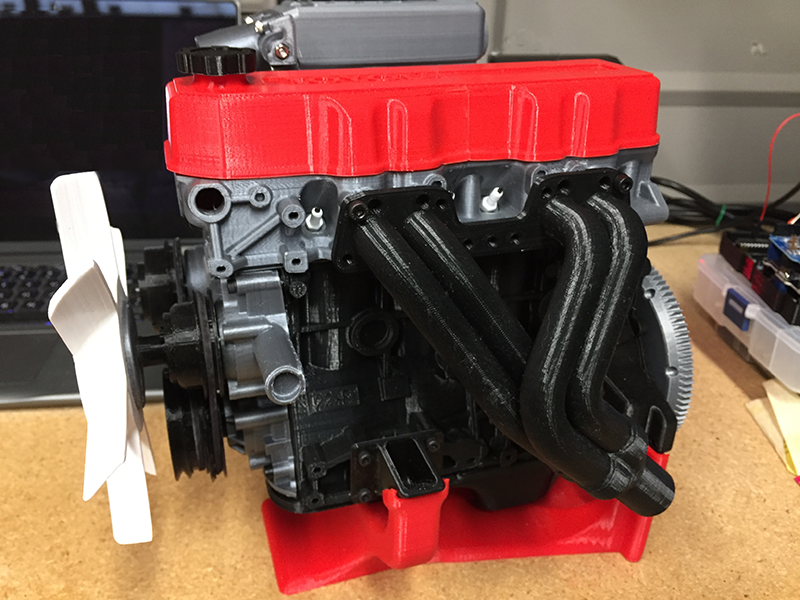
All in all, this was a fun and rewarding project not to mention I learned a lot more about 3D designing and printing than I knew before I started. If you would like to learn more about 3D printing and how it works, read my blog about 3D printing here. To view a video of the completed Toyota motor model in action, click here.
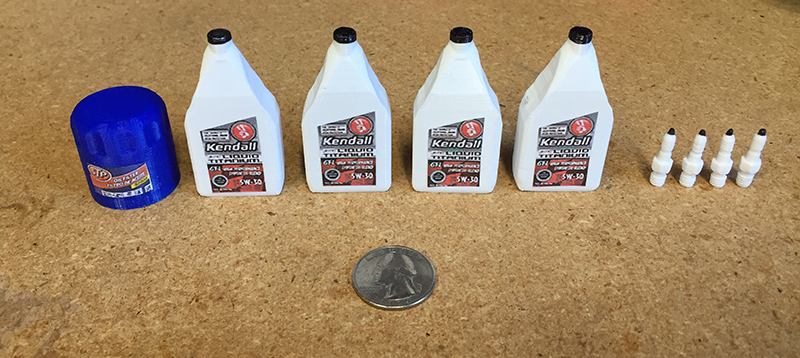
Even a Toyota needs an occasional service. I had some left-